Growing garlic is not difficult. Even if you are not a seasoned gardener, you can grow great garlic if you start with quality, organic seed garlic and follow a few simple steps.
1) Preparing the soil
Garlic will grow in just about any soil, but to grow a good size bulb you will need to have good fertile soil with lots of organic matter and good drainage. Composted manure or compost is a good soil amendment for garlic. Garlic will do best in a soil with a pH level between 6 and 7. A soil test is essential to know the pH and quality of your soil. Check with your local extension office for soil testing information.
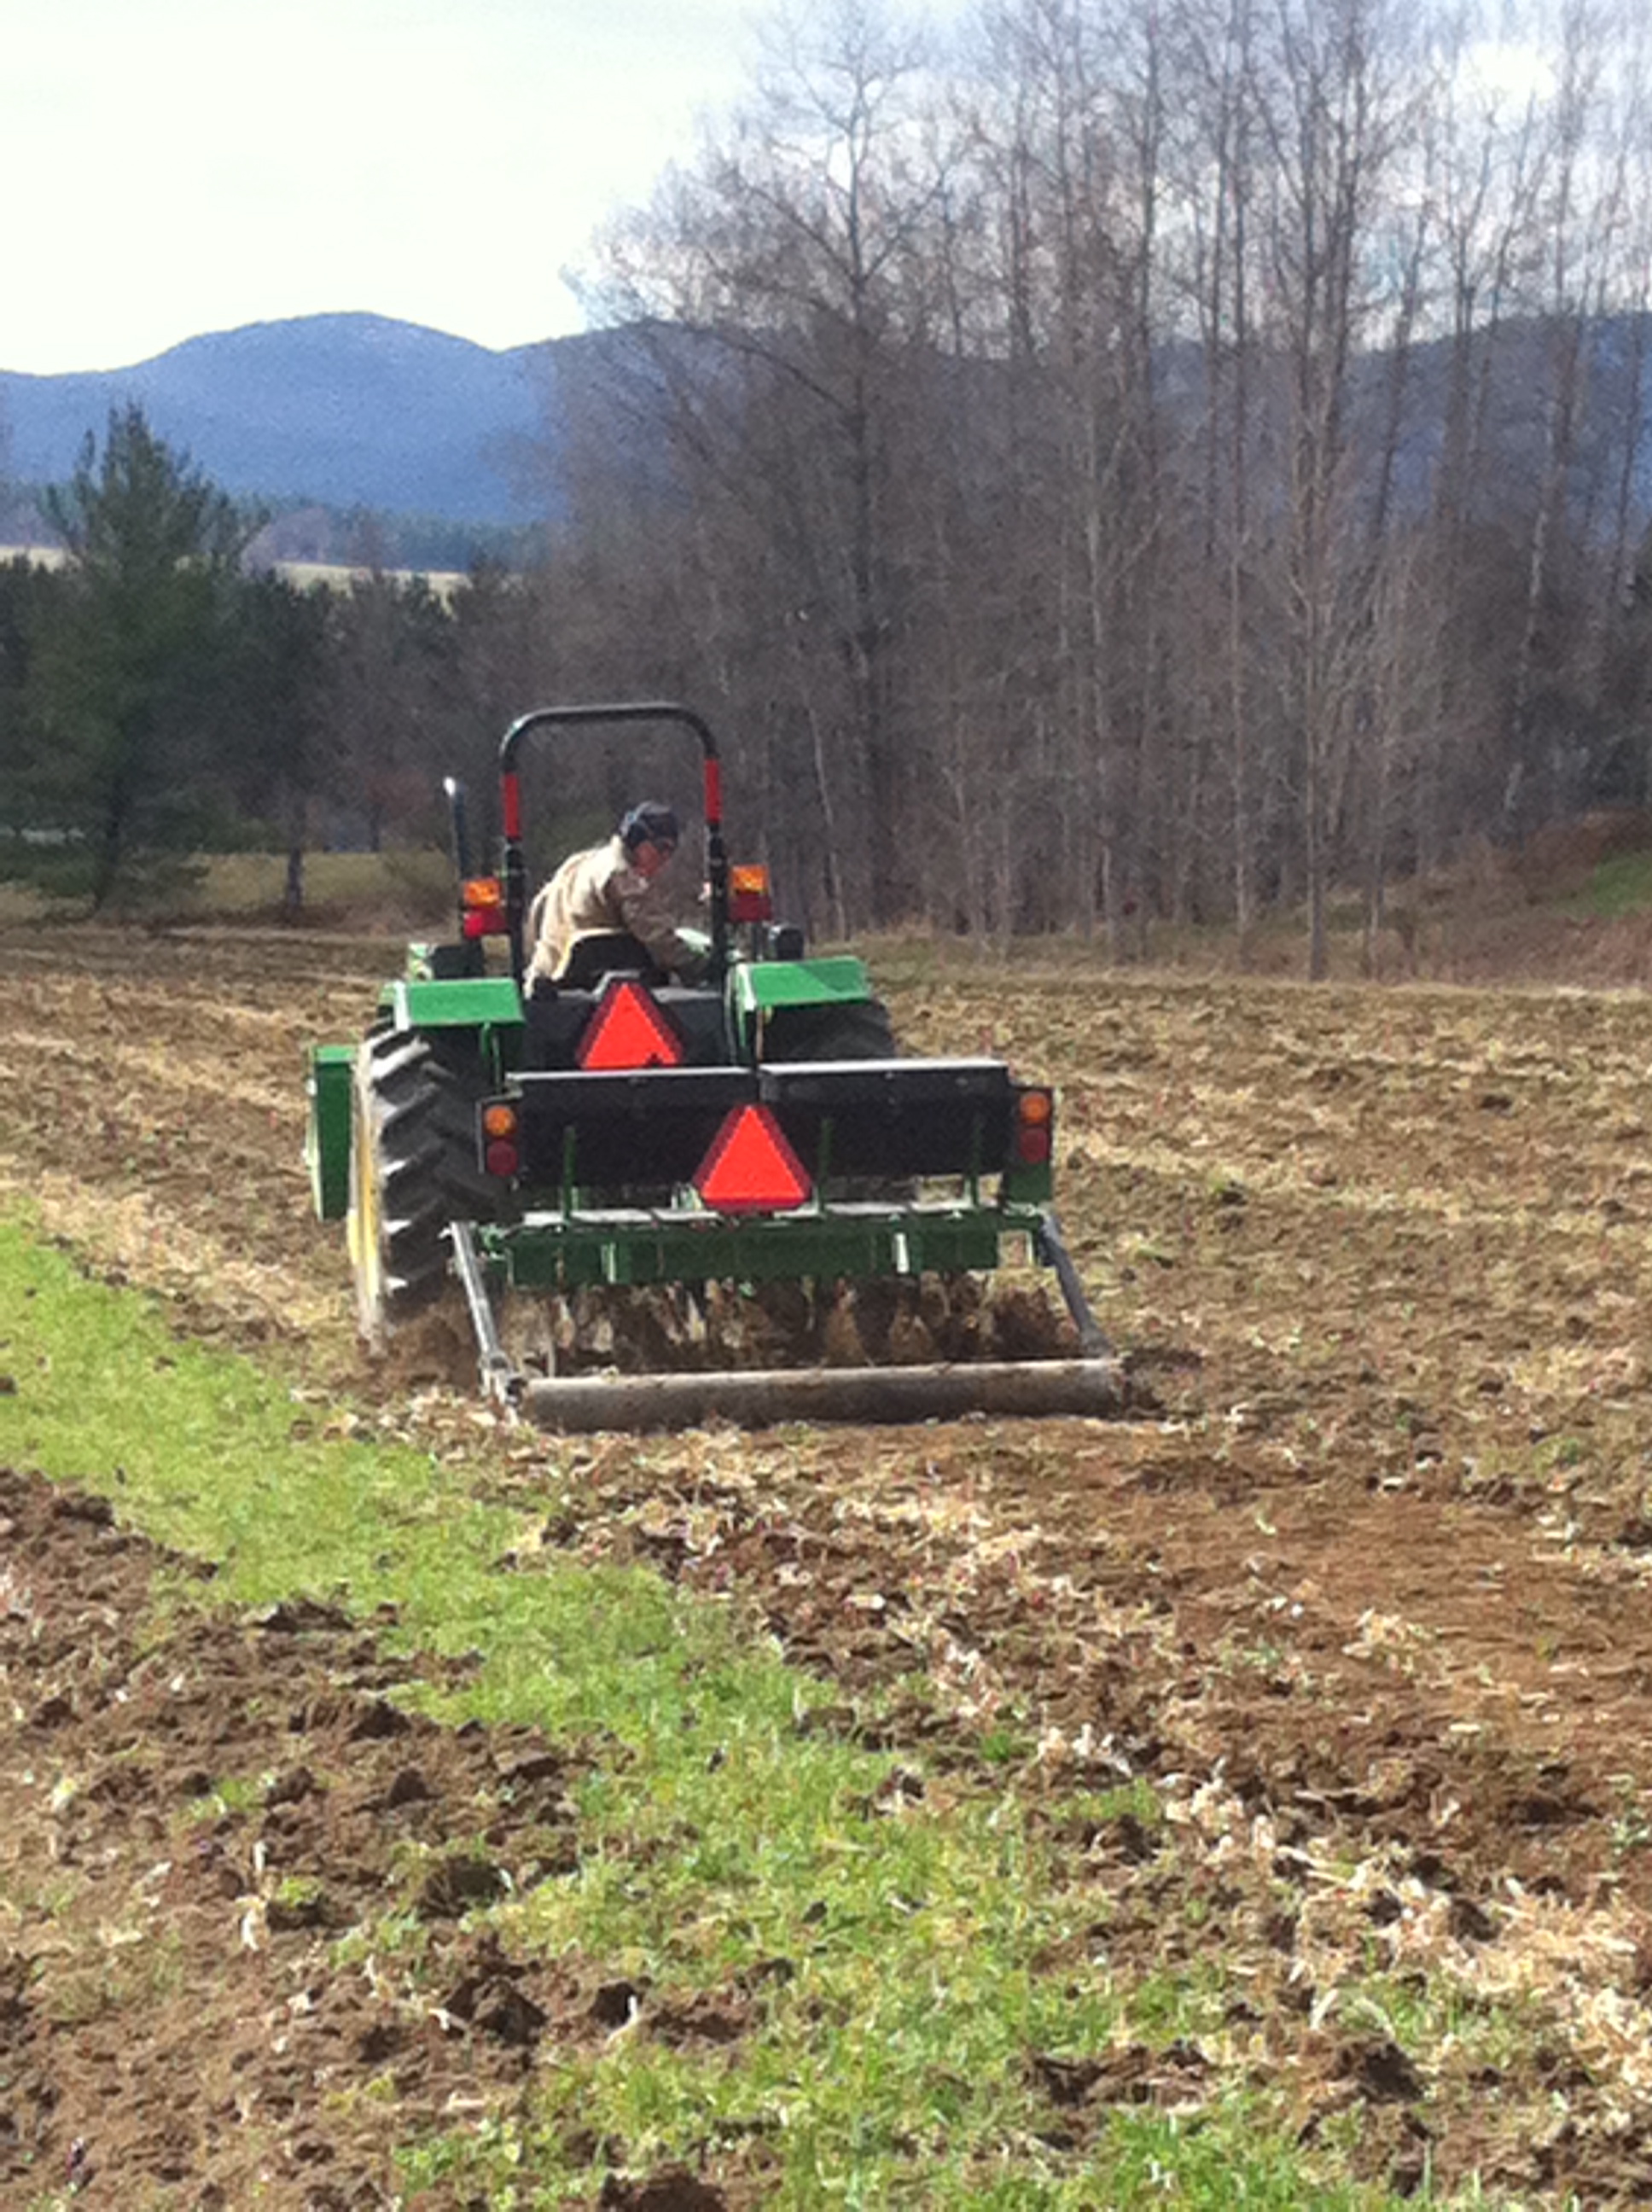
Preparing the Soil
2) Preparing the garlic
Just prior to planting, break apart each head of garlic by hand until you have all the cloves separated. Do not use a tool for this as you do not want to bruise the garlic. Each clove planted will yield a head of garlic the following growing season. The larger cloves will produce larger size heads of garlic, smaller cloves will produce smaller heads. Some gardeners prefer to save the smaller cloves for eating, pickling or planting close together to eat as green garlic in the spring.

Opening garlic heads
How much garlic do you need?
1lb of hardneck garlic equals about 40-50 cloves to plant. 1lb of softneck garlic equals 50-65 cloves (many of these cloves will be smaller).
1 lb of cloves will make a single row of approximately 20-30 feet, or a raised bed, 7-10 feet long, with 3 rows across.
3) Planting
Garlic is usually planted in early October in the far north and from November through January in the south. Northern growers should plant three to four weeks before the ground freezes in order to insure good root growth prior to winter. Here in Central Vermont we plant from Mid-October to mid-November. Plant the cloves, 4 – 5 inches deep and 5 to 6 inches apart with the pointed side up and growth plate (where the roots emerge) down, cover with soil and pat down.
(Southern growers – garlic needs to go through a cold spell to trigger sprouting. If you live in a climate where the temperature does not drop below 40 degrees, place your seed garlic in a cold, but not freezing, spot (40-50 degrees) for 2 – 3 weeks before planting.
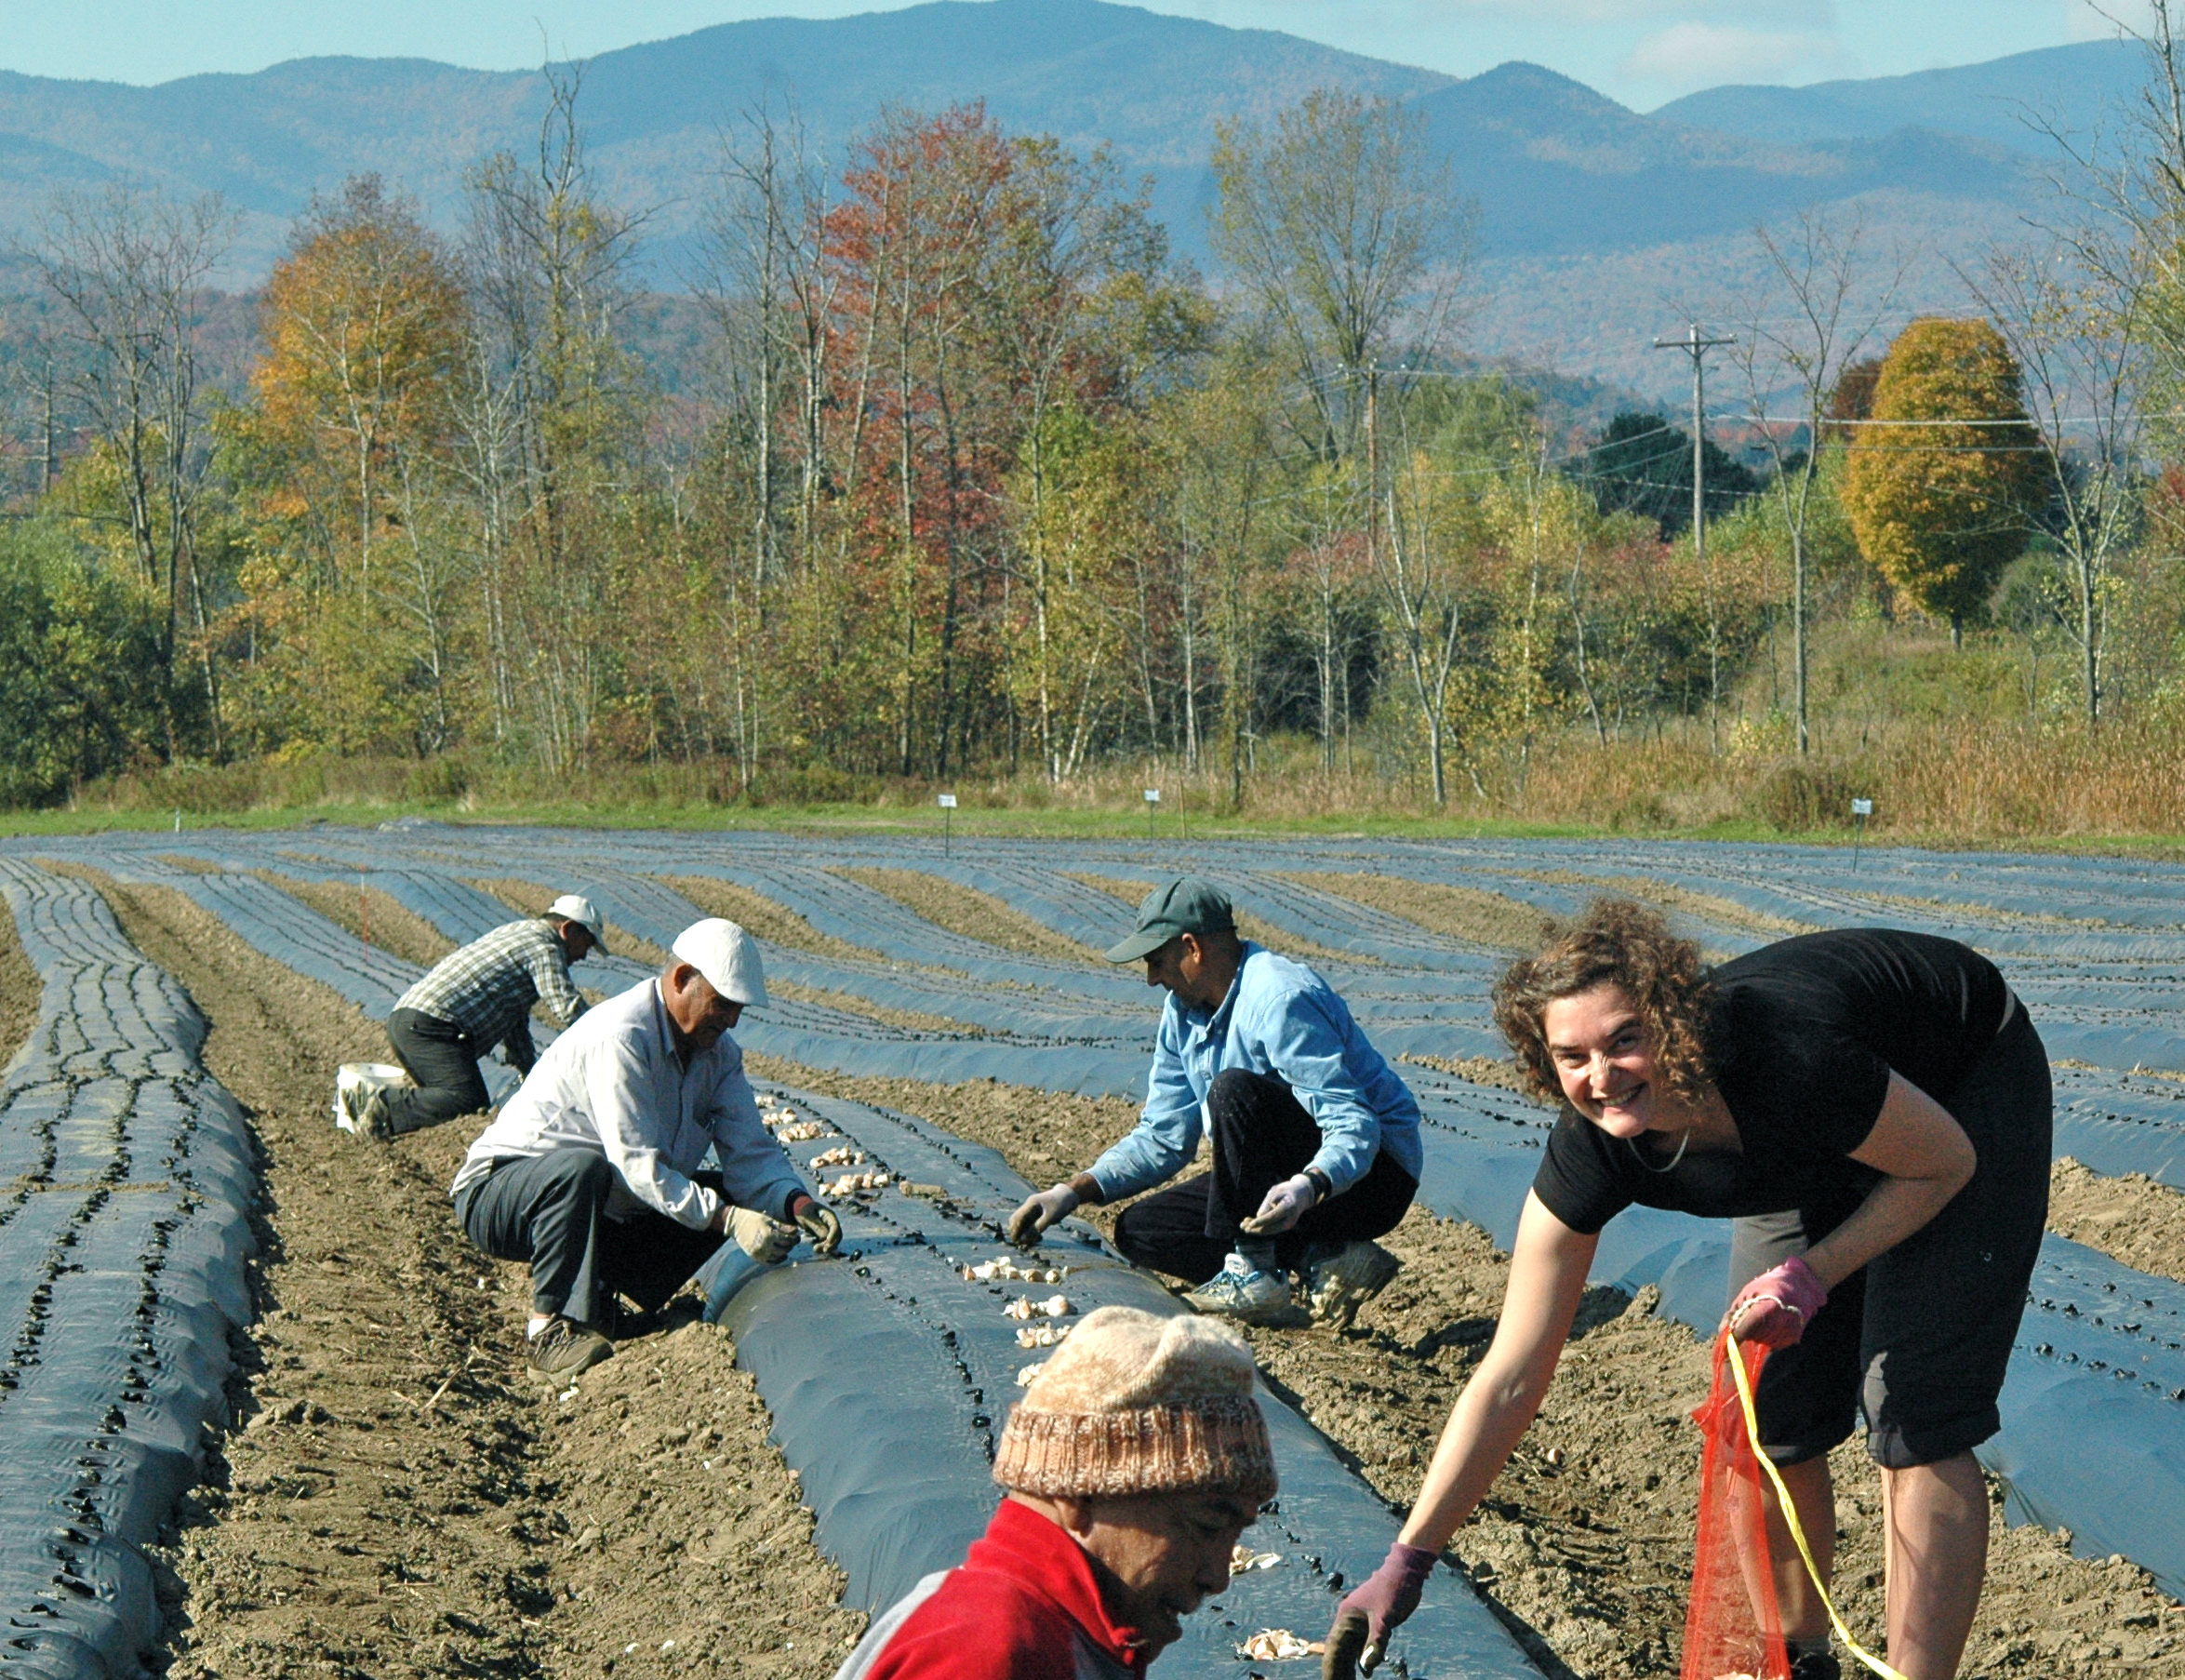
Planting Garlic
4) Mulching
When you are done planting mulch the rows with 3-4 inches of mulch. Mulch can consist of material you may have readily available — straw, leaf litter, compost. Grass or hay are not recommended as it will drop lots of weed seeds in your bed. If your mulch is very dry, you may want to water it to keep it from blowing away. Mulch will protect your garlic during fluctuating temperatures in the winter and early spring. The mulch can be removed in the spring after the threat of a hard freeze is over to help the soil warm up, or it can be left in place to help with weed control and preserve soil moisture.
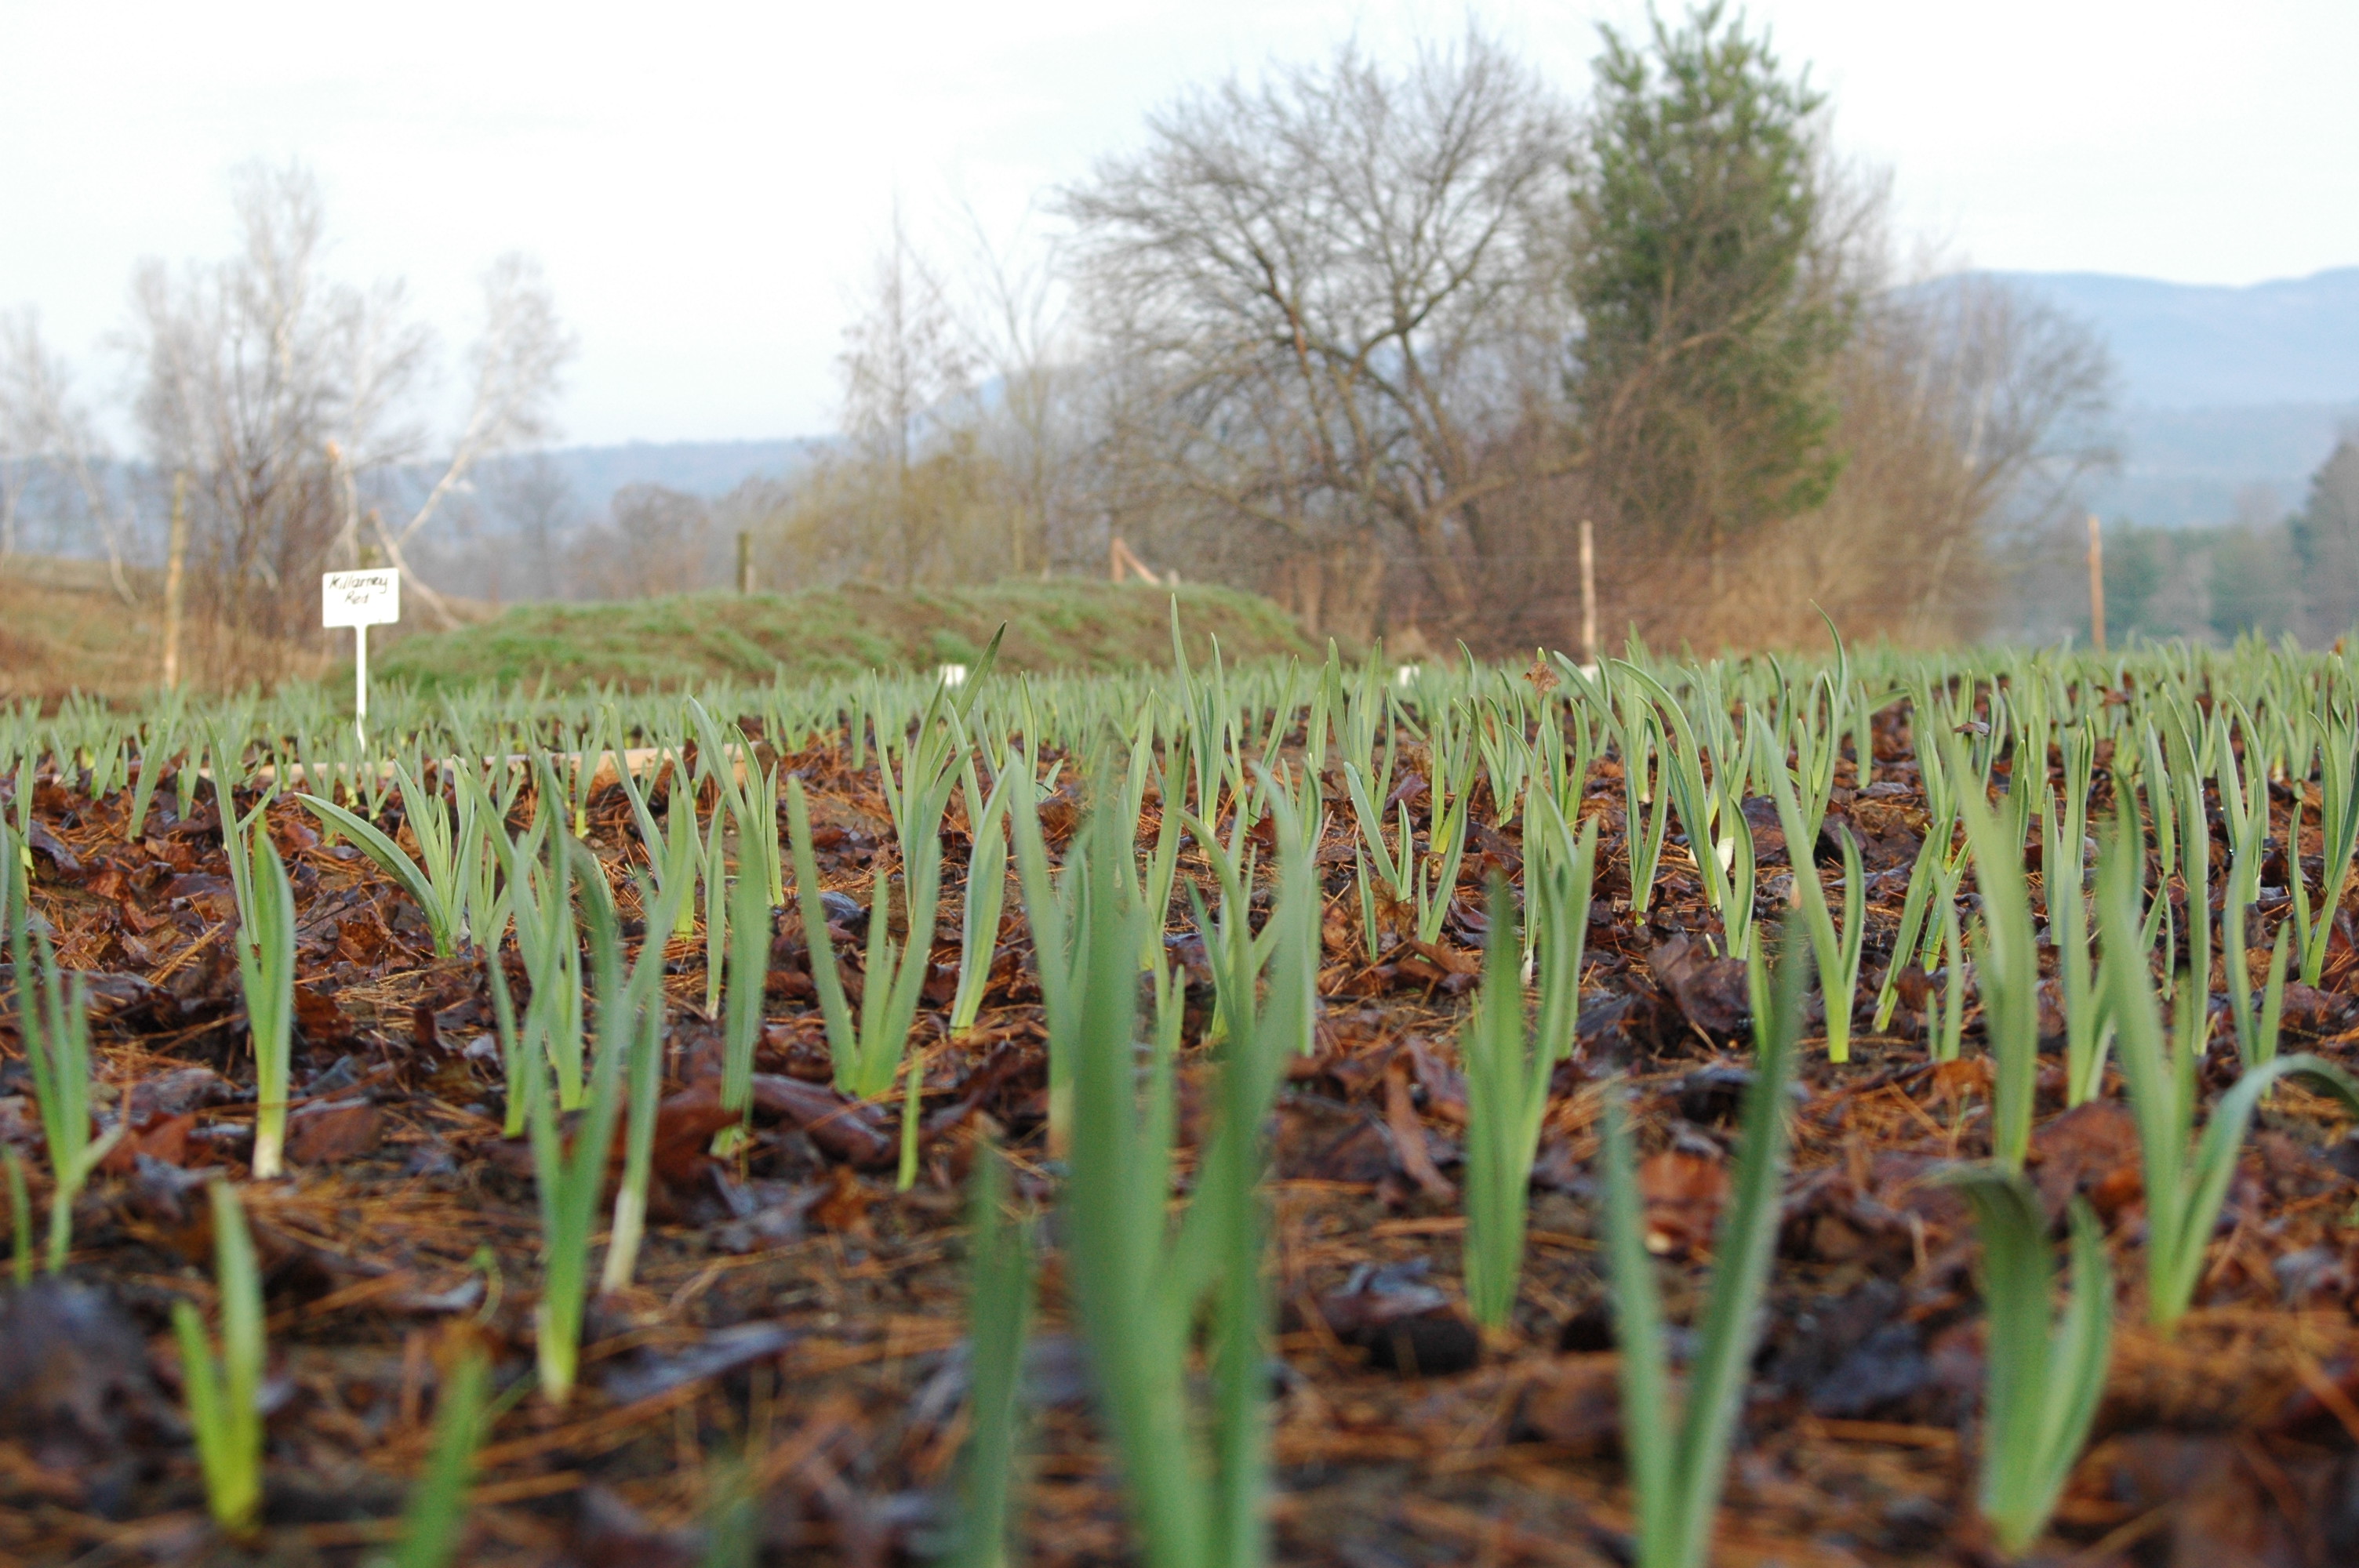
Garlic with Leaf Mulch
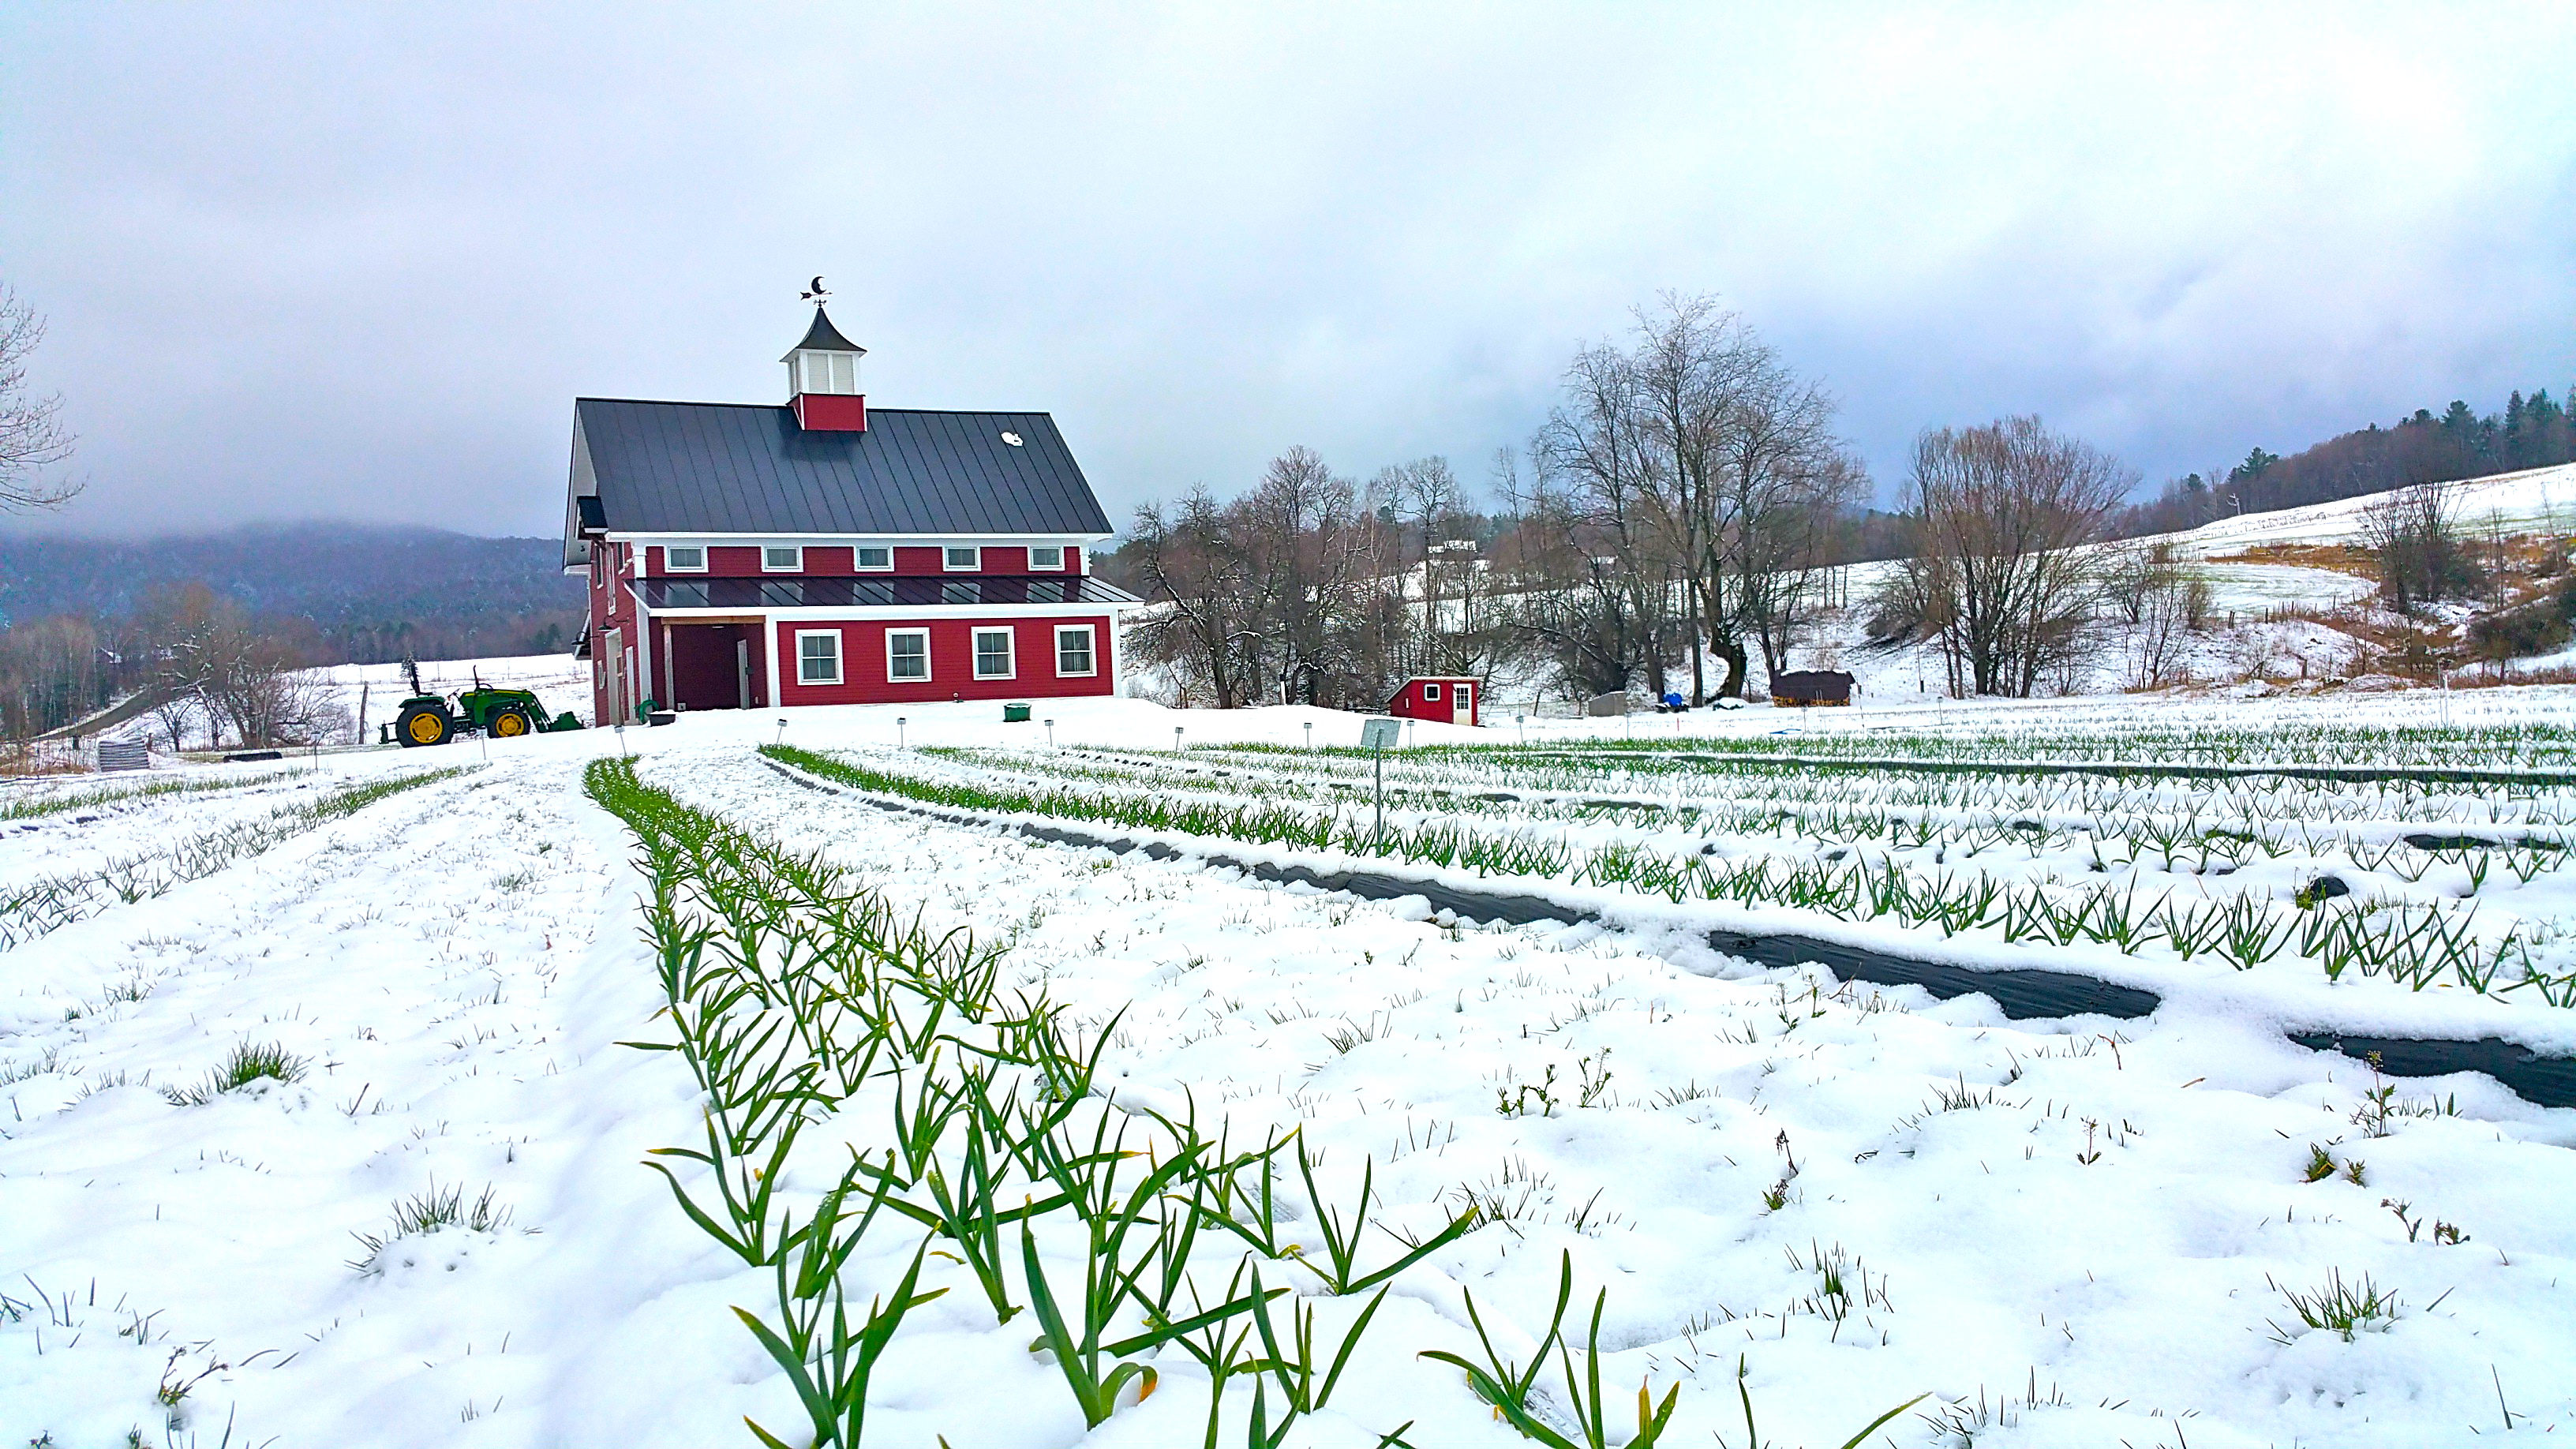
5) Spring and early summer
If you live in a dry climate you may need to water your garlic. Garlic likes to be kept evenly moist especially during leaf production. Soak the soil throughly, sandy soils may require more frequent watering. Garlic does not like competition from weeds, so try to keep them to a minimum.
 6) Scapes
Hardneck garlic will produce a flower or bubil in the spring. This appears at the end of the garlic scape. In Vermont our garlic scapes appear in early June. These should be clipped off, when the scape begins to curl, to promote healthy bulb growth. Scapes are seasonal culinary treasures to garlic enthusiasts and gourmet cooks, see our Cooking with Garlic page for some great scape recipes. A fully mature scape also looks great in a flower arrangement!

Garlic Scapes
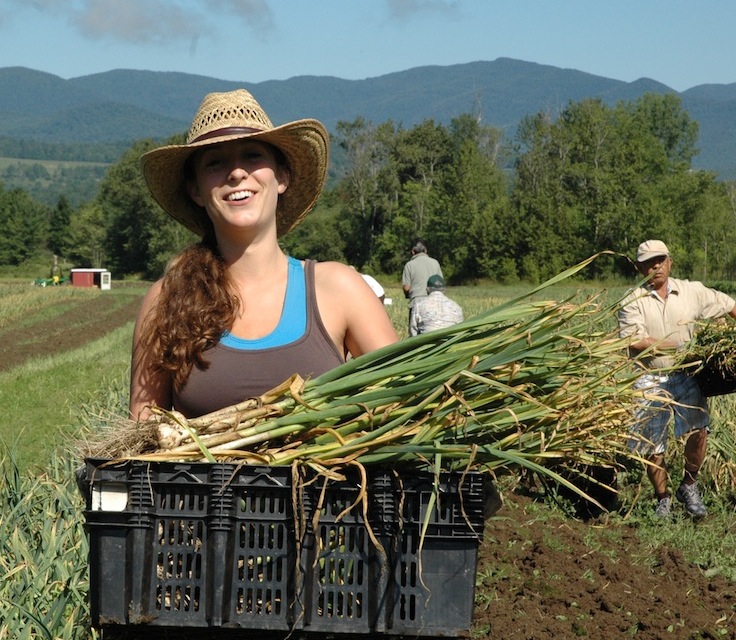
7) Harvesting
Harvesting usually takes place between June and July, depending on your location. Harvesting the garlic too early will result in smaller heads, harvesting too late will result in overly mature garlic that will not store well. One indicator that the garlic is ready for harvest is when the lower half of the leaves turn yellow and brown. You can always pull a few heads to decide if it’s time to harvest. If the head is good sized and the cloves fill the skin it is ready for harvest.
Harvest the garlic head, with the plant attached, using a shovel. Garlic can bruise, so handle carefully. Clean off excess soil and bundle in groups of five to ten plants. Hang them in a warm, dry, airy place, out of the sun, for 3 to 4 weeks to cure. If you live in a very humid climate, you may want to remove the stems and roots for the drying/curing process. After curing (check the clove wrappers inside the bulb to make sure they are dry) trim the stem and the roots and store in a cool (50-55 degrees), dry place for the winter months.
Harvesting Garlic